Posted by David Acheson on 30th Jul 2025
How to Make a Balloon Arch: Easy Instructions for Beginners
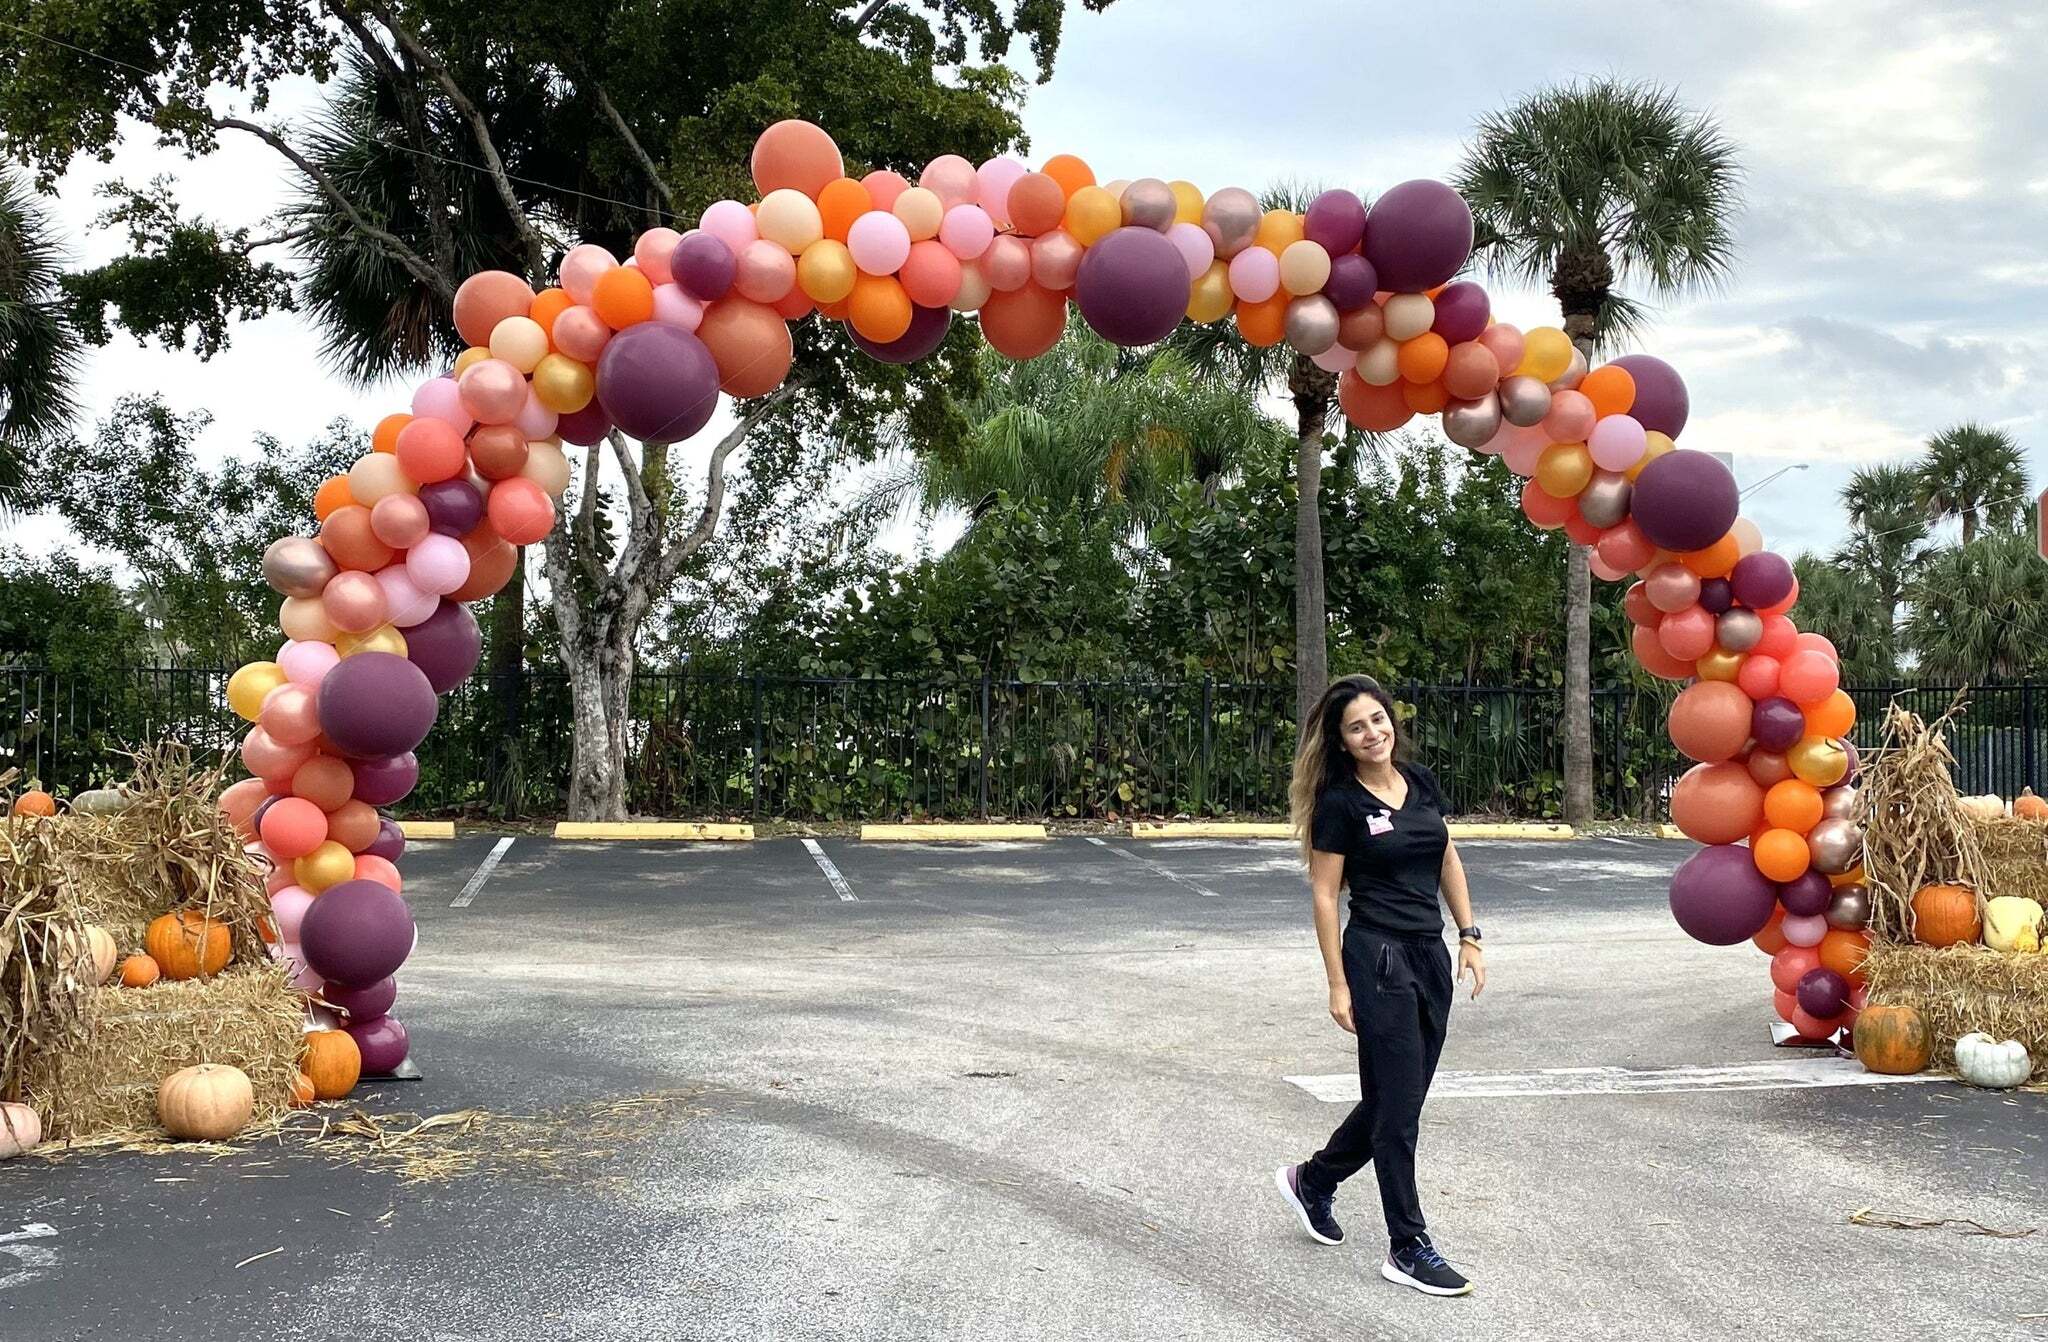
Balloon arches are one of the trendiest ways to decorate a party space. They make any setting feel instantly festive, whether it's for a birthday, baby shower or graduation. You don’t need to be a pro to pull one off.
Below, you’ll learn how to make a balloon arch step by step using easy tools and budget-friendly supplies. We’ll cover what you need, how to build your arch, and even some creative styling ideas. Whether you're going DIY or using a kit, it’s all simpler than it looks.
Quick Summary
To make a balloon arch, you’ll inflate balloons in different sizes and attach them to a strip or string. Once assembled, you can bend and shape it to fit your party space. You can hang it using Command hooks, lean it against furniture, or support it with a stand.
Whether you're doing it yourself or using a kit, the process is straightforward. It’s all about mixing sizes, filling gaps, and securing the arch where it looks best. Anyone can create one with a little time and patience.
What You’ll Need to Build a Balloon Arch
Before you start blowing up balloons, make sure you’ve got everything ready to go. It’s frustrating to realise you're missing something halfway through. A quick checklist will help you stay organised from the start.
- Around 80–100 balloons in mixed sizes
- Balloon decorating strip or fishing line
- Balloon pump (manual or electric)
- Sticky dots or glue gun for small filler balloons
- Scissors, tape and optional string or ribbon
- Command hooks or a freestanding arch frame
- A helper (trust us, two sets of hands are better than one)
You can use balloon arch kits to save time and make things easier. These often include everything you need in one go, which is perfect if you're just getting started. They’re a great option when you want less hassle and more fun.
DIY vs Pre-Made Kits: Which Option is Right for You?
Making a DIY balloon arch gives you full creative control over colours, styles and sizes. It’s fun, flexible and can be done on a budget with a bit of planning. There’s something genuinely satisfying about stepping back and saying, “I made that!”
Kits, on the other hand, are great if you're short on time or feeling unsure where to begin. They include all the basics, balloons, glue dots, and balloon tape—so you’re ready to go. If you're planning a DIY kids party, a kit can save both time and stress.
Step-by-Step Instructions to Make a Balloon Arch
Making a balloon arch is a bit like building a giant, colourful puzzle. You start with a base, fill in the gaps, and shape it to suit your space. Follow these four simple steps and you’ll have a showstopper in no time.
Step 1: Inflate Your Balloons
Use a balloon pump to inflate your balloons in a mix of small, medium and large sizes. This variety gives your arch more shape and makes it look professionally styled. Play music while you pump, it makes the job easier and more fun.
Inflating around 80-100 balloons is standard for a doorway-sized arch. If you're wondering how many balloons for a balloon garland, that number usually works for 2 to 2.5 metres of arch. Always have a few extra on hand in case some pop or deflate early.
Step 2: Attach Balloons to Tape or Line
Grab your balloon decorating strip or fishing line and begin threading balloon pairs through it. Mix up the colours and sizes to create a nice balance and natural flow. If you’re wondering how to tie balloons together for arch, twist two balloon ends together before attaching them, it helps them stay in place.
If you're using balloon tape, insert the tied ends into every second or third hole. This method is an easy way to master how to make a balloon arch with tape.
Step 3: Fill in Gaps
Once your main balloon line is ready, take a step back and spot any gaps or uneven spots. Use glue dots or a low-temperature glue gun to tuck smaller balloons into those empty spaces. This will give your arch a fuller, more professional finish.
This is the best stage to let your balloon arch ideas shine through. Add in a few metallic balloons, themed accents or even confetti-filled ones to make it pop. The small extras really make a big difference in the final look.
Step 4: Set Up Your Arch
Pick the perfect spot for your arch, over a doorway, around a dessert table or at the party entrance. Secure each end with Command hooks, strong tape or string, depending on your setup. This is the easiest way to learn how to make balloon arch without stands.
For larger arches or outdoor parties, using a PVC or metal frame is a smart move. You can even create your own if you're curious about how to make a balloon arch frame at home. Just make sure the base is secure, so your arch stays upright throughout the event.
Common Balloon Arch Setups
Balloon arches work for all sorts of events, from kids’ birthdays to classy hen nights. You can easily match the balloon colours and styles to fit your party theme. The possibilities are nearly endless and can be as fun or fancy as you like.
Here are some popular balloon arch ideas to try:
- Birthday Parties: Match to your child's favourite colours, characters or themes.
- Baby Showers: Soft pinks, blues, or neutral tones with cute add-ons like clouds or bears.
- Graduations or Milestone Events: Use metallics, school colours or number balloons.
- Hen Parties or Bridal Showers: Go bold with rose golds, confetti-filled balloons or cheeky shapes.
For even more colour and theme options, explore our full range and shop balloons by occasion. You’ll find everything you need to match your arch to your party vibe. It’s a quick way to pull everything together without the stress.

Final Tips for a Stunning Balloon Arch
Don’t worry about making your balloon arch look perfect, fun and festive is what you’re going for. If one side looks a little fuller, just adjust it or embrace the uneven charm. Sometimes a slightly off-centre arch looks more natural and playful anyway.
Here are a few final tips to help your arch stand out:
- Stick to 2–3 main colours for a clean, cohesive look.
- Use more small balloons near the ends for a tapered, balanced shape.
- Inflate the balloons on the day of your event, but build the arch the night before if possible.
- Keep your arch away from direct sunlight or heat to avoid unexpected pops.
For extra support, have a look at balloon accessories like clips, hooks or balloon weights. These finishing touches help your arch stay in place and last longer during the celebration. A little planning goes a long way toward making something guests will remember.
FAQs
How many balloons do I need for a balloon arch?
You’ll need about 80–100 balloons for a standard arch. Larger designs may require 120–150, depending on the length and fullness you want. Always keep 10–15 extra on hand in case of pops or last-minute adjustments.
Can I make a balloon arch without a stand?
Absolutely! Most people learn how to make balloon arch without stand by using wall hooks, strong tape, or clear fishing line. Just make sure the surface you attach it to is clean and sturdy enough to hold the weight.
Can I use helium?
You can, but it’s not usually needed for this type of arch. If you're exploring how to make a helium balloon arch, it involves tying helium balloons to a long string and securing the ends. Keep in mind that helium-filled arches don’t last as long as air-filled ones.

